Thursday, May 29, 2014

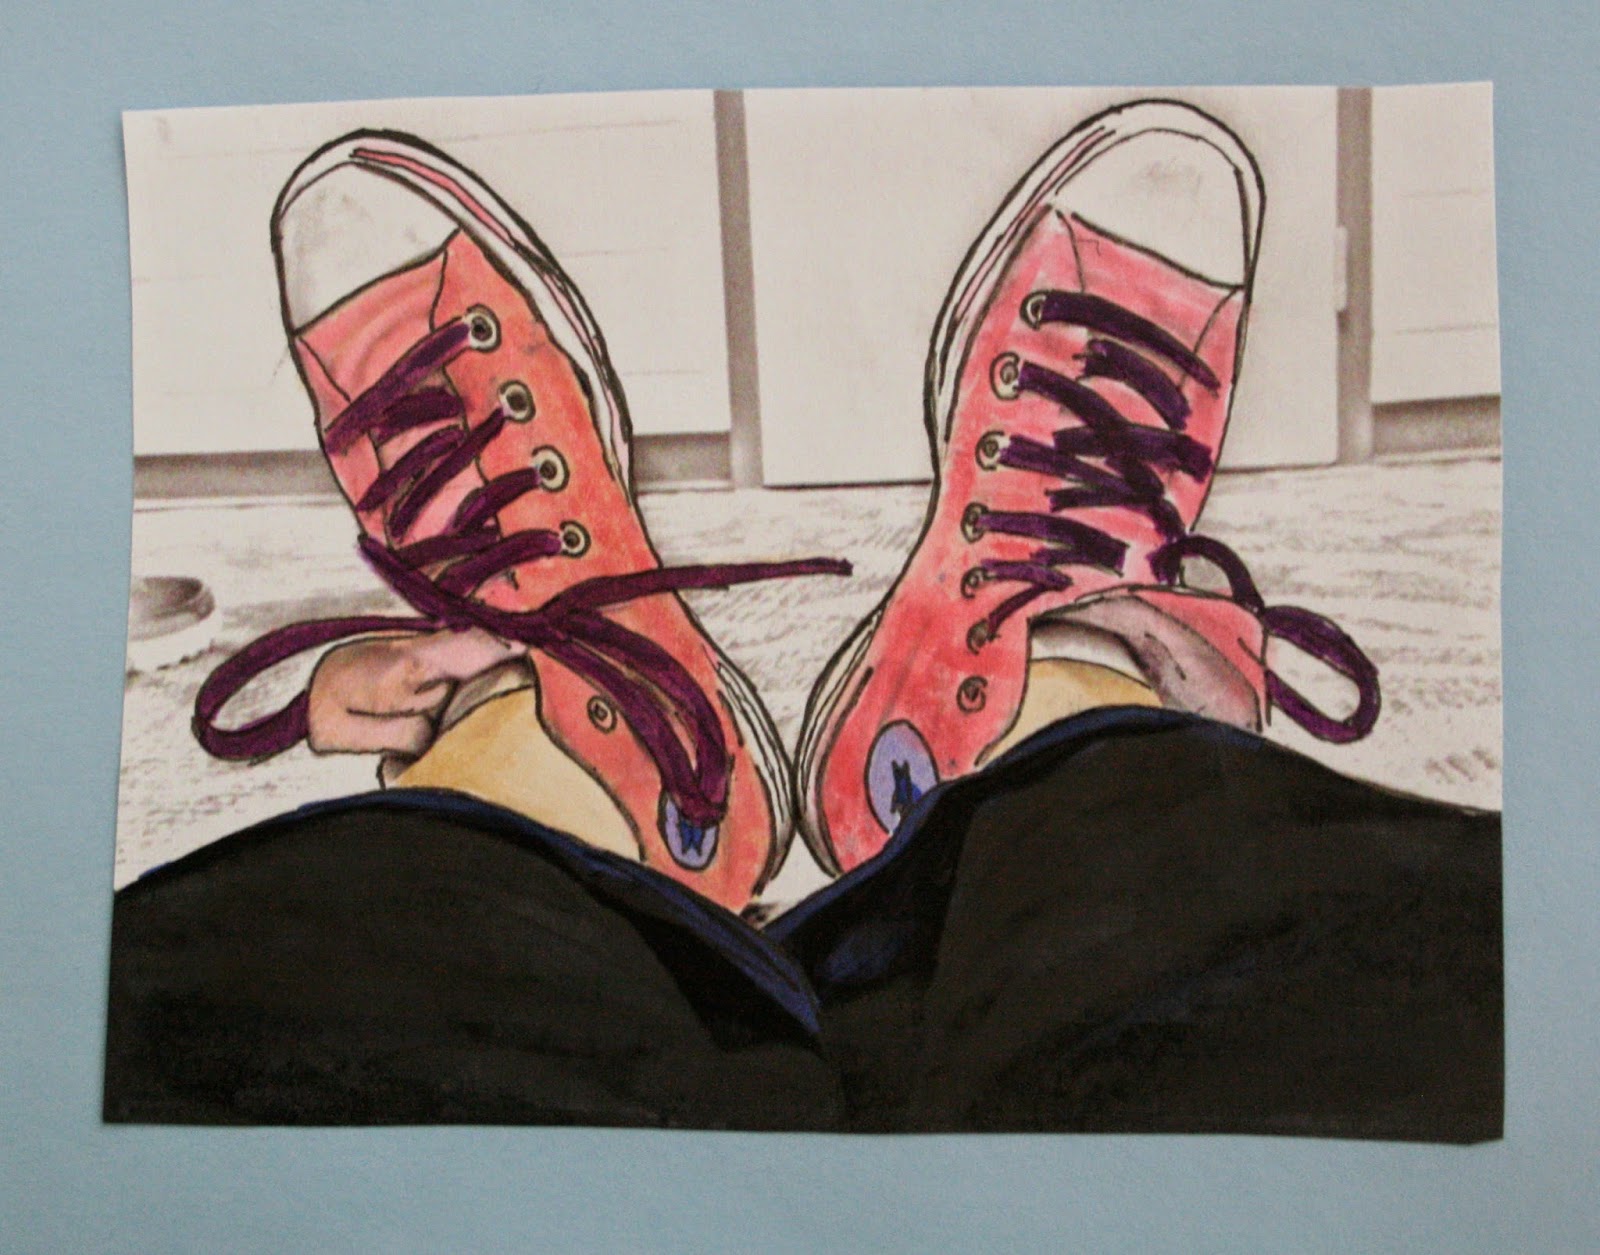
Copic Illustration. Photo to Drawing, 8th garde

Copic introduced a new technique in which you take a photograph and turn it into an illustration. It's called Tracing Memories.
 8th grade students started by taking photographs around the school. We set up photographic lights and backgrounds and many of them used the set up for portraits and still lives. We then converted the photographs into line art in photoshop. After printing the black and white photograph as well as the color photograph, students match the colors in their color photo to the Copic markers colors using this color swatch sheet. To color the black and white photograph, we went over basic Copic marker blending and coloring techniques, as well as understanding the coding on the markers, and care for the markers. For their second illustration, many students chose to use the same photograph, but make the colors unrealistic.
 The results are fantastic! Don't you think so?
 Here is the youtube tutorial that I found to easily convert the photographs to line art:

Wednesday, May 28, 2014

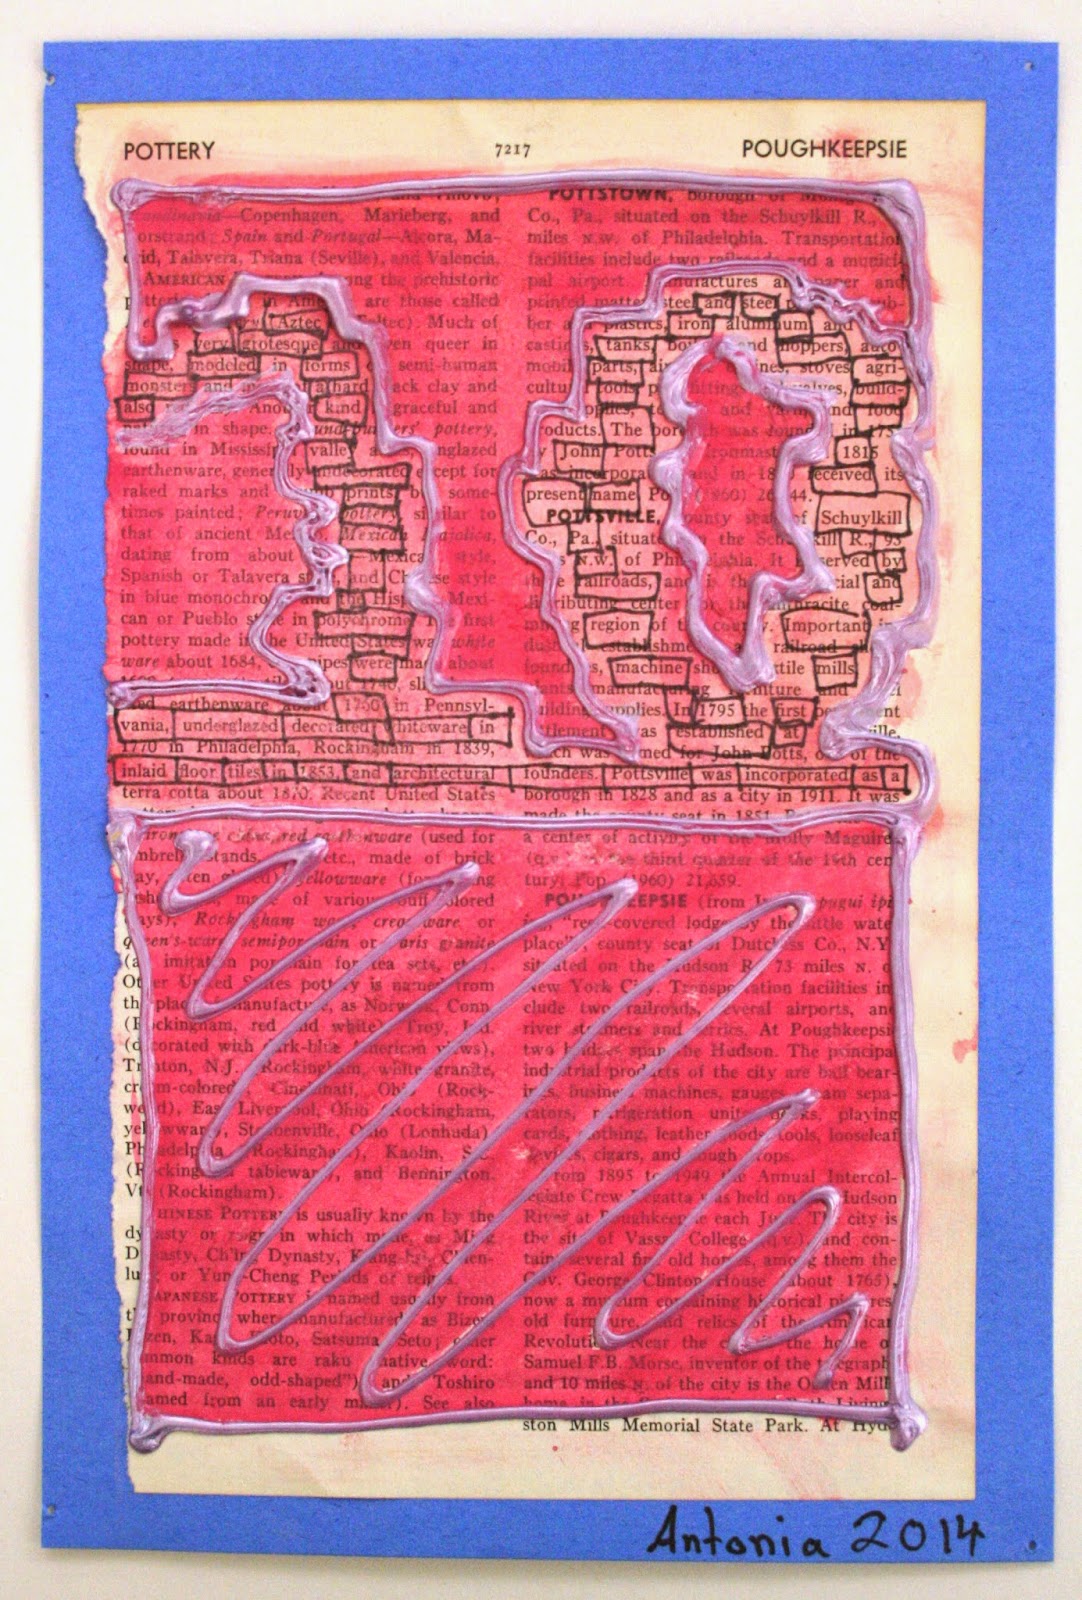
A Humument, Altered Pages, 5th grade

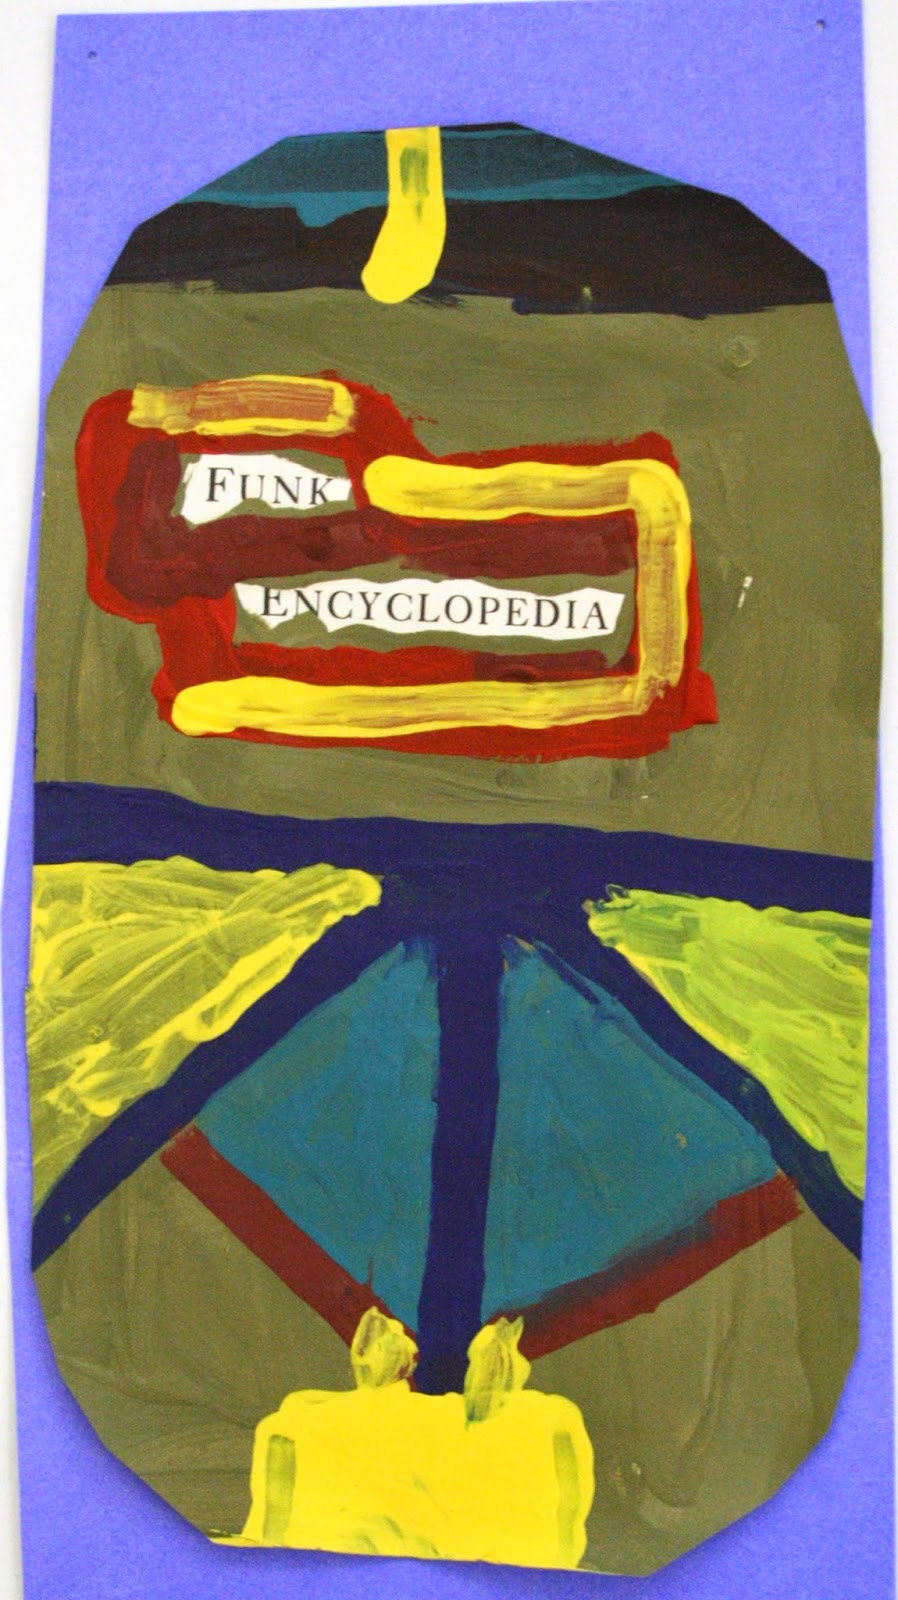
5th grade students created altered pages based on Tom Phillips' treated Victorian Novel, "A Humument". The back story on this novel is this: In 1966, Tom Phillips happened upon an old 1892 Victorian novel by W.H. Mallock called, "A Human Document". Tom made it his mission to creatively alter each page, altering the text and the story of the book. By 1973, Tom had finished the book.
 5th grade students worked on a handful of pages, finding words that brought them interest first. Some ideas included: circling words that start with the same letter, follow a pattern, or every 10th word. Students used various mixed mediums not limited to acrylic paint, water color, collage, pen and ink, and pastel.
I was lucky enough to see the book in it's entirety at MassMOCA this past winter. The exhibit and the book in the gift shop inspired me to share it with the 5th grade students.


Tuesday, May 27, 2014

7th grade Earth Art Publishing Assignment

Now that you have taken your photos, you are going to publish them online. You have several different free options including blogger.com, webbly.com and wix.com. For this unit, I think blogger may be best as we don't need multiple pages for our sites. Here is a great tutorial on how to set up your blogger page:

 You will need to write an artist statement on your blog.

The artist statement should be the last things you post so it will be at the top of your blog, giving viewers an understanding to your work. Your artist statement should allow the reader to understand what you did and why you did it.

Your artist statement should cover the following topics:
 A brief introduction to Andy Goldsworthy's art work and earth art.
 An explanation to your own artwork including what you built, the process, where you built it, materials used, etc.
What happened along the way? (Did anything interesting or unusual happen? Did you solve any problems in the process? Did you change my approach to doing the project? etc.)
Did the project turn out how you expected? Why or why not?
What did you learn through the art project?
What would you do differently next time?
Use the elements and principles of design to describe your work.
 You can use all of your notes from the movie Rivers and Tides (20 facts & movie questions).
 You can also take photos of your field notebook for your blog.
 
© Mrs. Malone-Smith